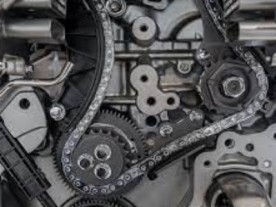
Welding exhaust pipes is a vital skill for both car enthusiasts and professionals. Properly welded exhaust pipes ensure efficient exhaust flow, prevent leaks, and help improve the overall performance of your vehicle. In this article, we'll provide a step-by-step guide to help you weld exhaust pipes efficiently.
Gather the necessary tools and materials: Before starting the welding process, gather the required tools and materials. These typically include a TIG or MIG welder, welding gloves, safety glasses, a welding helmet, an angle grinder, wire brushes and suitable filler material. It is very important to wear protective gear throughout the welding process to stay safe.
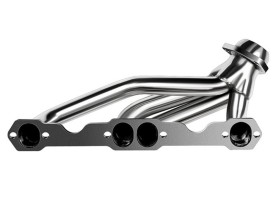
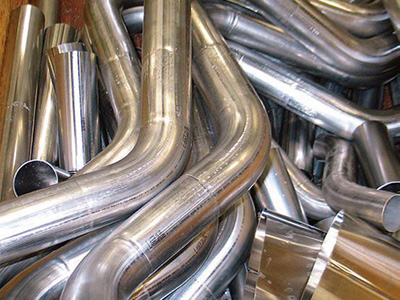
Prepare the exhaust pipe: Make sure the exhaust pipe is clean and free of any contaminants such as rust, grease, or debris. Use an angle grinder equipped with a shutter wheel to remove rust or paint from the surface. Next, use a wire brush to thoroughly clean the surface in preparation for welding. Also, if there are any cracks or holes in the pipe, the damaged section must be repaired or replaced before proceeding.
Set up your welding equipment: Choose the appropriate welding process based on the type of exhaust pipe and your skill level. TIG welding works well for stainless steel exhaust pipes, while MIG welding works well for mild steel pipes. Set up the welder according to the manufacturer's instructions, and adjust the settings according to the thickness of the exhaust pipe. Make sure you have the proper shielding gas and suitable filler material for your chosen welding process.
Locate and Secure Exhaust Pipe: Position the exhaust pipe in the desired location, making sure it is properly aligned and supported. Use clamps or magnetic brackets to hold the pipe in place, making sure it doesn't move during the welding process. Proper alignment is critical to achieving a strong and leak-free weld.
Start welding: Practice your welding technique on scrap metal first to make sure you have good control over the heat and motion needed. Once identified, start welding along the joints of the exhaust pipe using the proper welding process. Maintain a steady and consistent motion, ensuring adequate penetration and fusion between the base metal and filler material. Continue welding until the entire joint is complete.
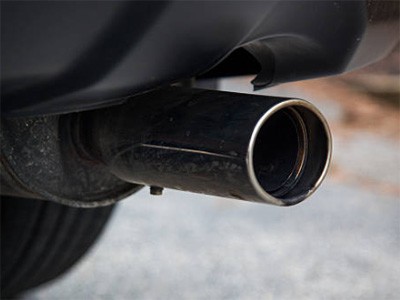
Post-weld finishing: After completing the welding process, allow the exhaust pipe to cool naturally. After cooling, use an angle grinder fitted with a louver or wire brush to remove any weld spatter, rough edges, or excess weld material. This step will help create a smooth and nice finish.
Note that welding exhaust pipes require some skill and experience. If you do not have enough welding experience, or are not familiar with specific materials and welding methods, it is best to ask a professional welder or machinist to complete this task to ensure welding quality and safety.